Your air conditioner depends on steady airflow to cool your home efficiently, but dirt and debris can gradually interfere with that process. Dusty filters, clogged coils, and leaves around the outdoor unit can restrict circulation, forcing the system to work harder while delivering less cooling.
Following the right clean AC unit tips can help restore airflow, improve cooling performance, and reduce unnecessary strain on HVAC components. Routine tasks such as changing filters, clearing the condenser area, and keeping vents unobstructed can also support lower energy use and more consistent indoor temperatures.
This guide covers practical AC cleaning and maintenance steps, including what homeowners can safely handle themselves and when professional service may be the better option for keeping the system performing at its best.
Clean AC Unit Maintenance Tips Before Cooling Season
How to Clean an Outdoor AC Unit Safely
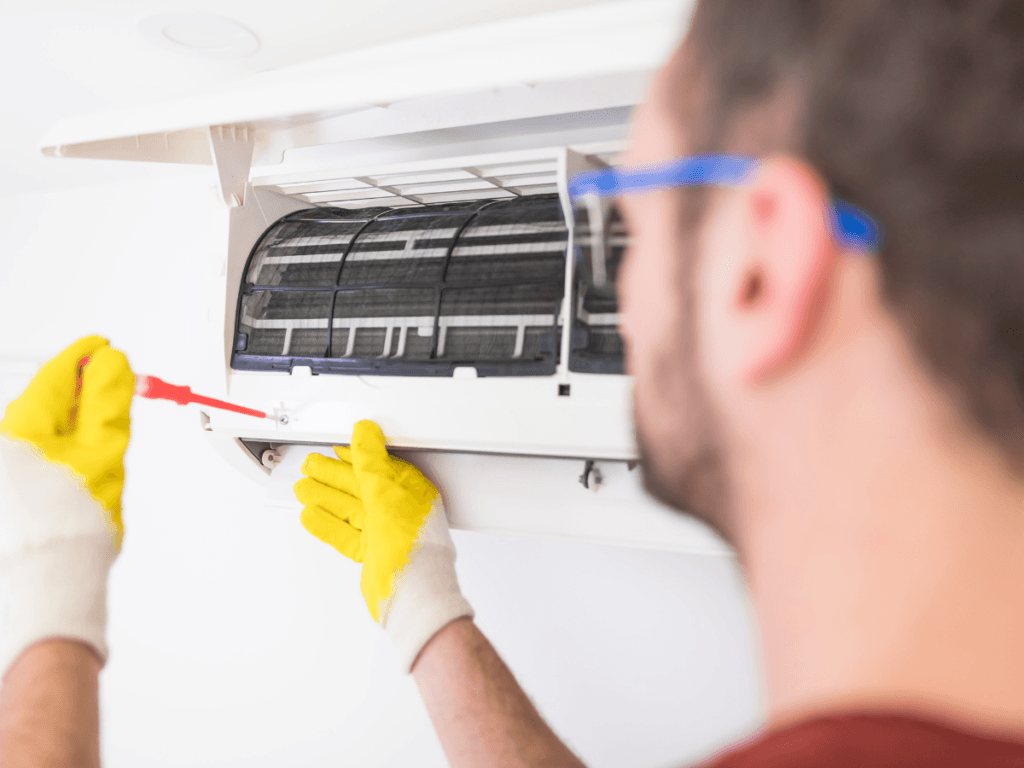
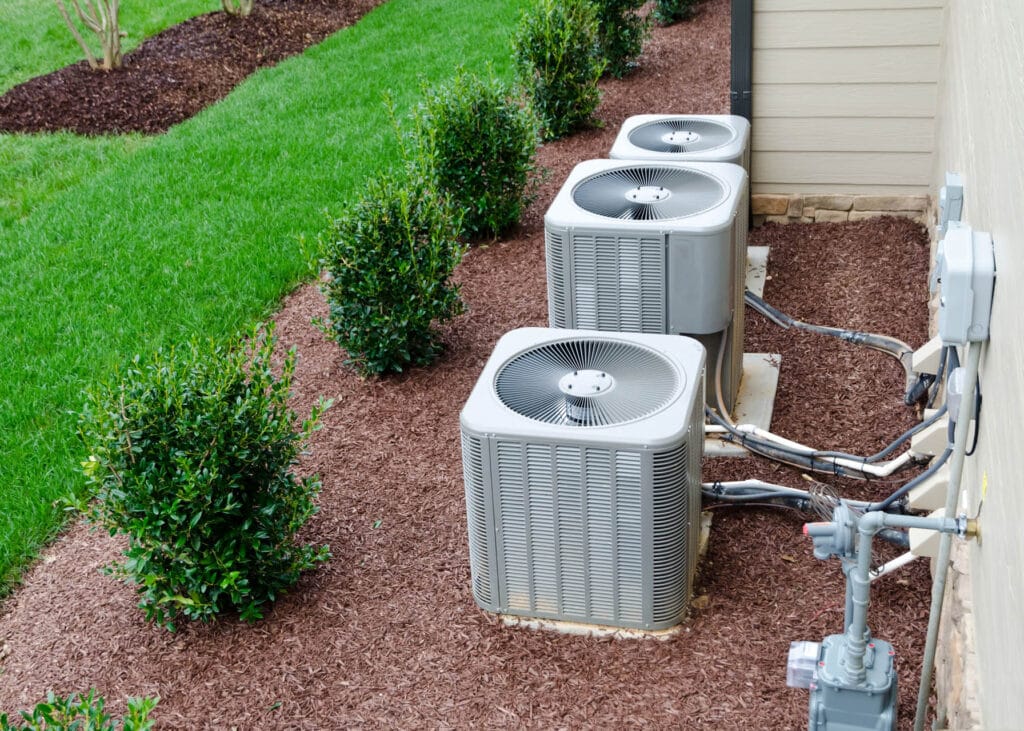
Cleaning the outdoor portion of an air conditioning system may look straightforward, but the condenser contains electrical components, delicate coil fins, refrigerant lines, and moving parts. Homeowners can handle some basic exterior maintenance, but safety should come before trying to reach every part of the equipment.
Before you clean an AC unit, check the manufacturer’s maintenance instructions for your specific model. Some tasks that seem like routine cleaning can damage the condenser or create an electrical hazard when performed incorrectly.
If the unit has damaged wiring, leaking fluid, heavy corrosion, bent components, or another obvious mechanical problem, cleaning should wait until an HVAC technician has inspected it.
Shut Off Power Before Cleaning the Condenser
Turning the thermostat off is not enough to make the outdoor unit safe to work around. Power should be disconnected before removing debris or performing any cleaning that involves contact with the equipment.
Depending on the system, this typically means switching the air conditioner off at the appropriate circuit breaker and using the outdoor disconnect located near the condenser. Follow the equipment manufacturer’s instructions for shutting down and restarting the system.
Once power is disconnected, do not open electrical compartments or touch capacitors, wiring, terminals, or other internal electrical components. Capacitors can retain an electrical charge even after the system has been switched off. Those areas should be left to a qualified HVAC professional.
Water and electricity are another important concern. Never spray water toward electrical panels, wiring, disconnect boxes, or other electrical components.
Wear Appropriate Protection Around the Outdoor Unit
Outdoor condensers can collect leaves, twigs, dirt, pollen, grass clippings, and other debris. Their metal cabinets and coil fins may also have sharp edges.
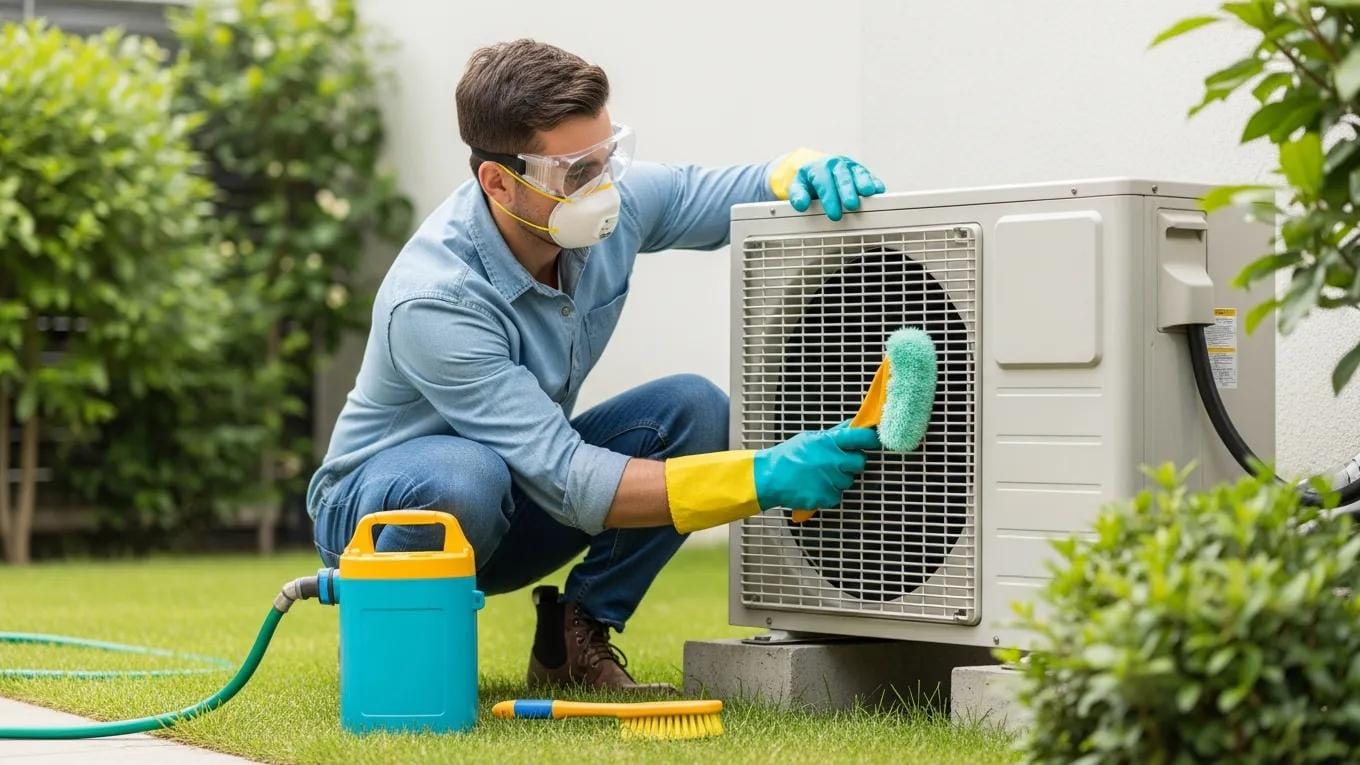
For basic cleaning, protective equipment may include:
- Work gloves: Help protect your hands when removing leaves and other debris from around the cabinet.
- Safety glasses: Protect your eyes from loose dirt and debris, particularly when brushing or rinsing around the unit.
- Closed-toe, slip-resistant footwear: Provides better footing when working on damp ground or around landscaping.
- Respiratory protection when appropriate: A suitable mask may be useful when significant amounts of dust, pollen, or other airborne debris are present.
Avoid loose clothing, jewelry, or anything else that could catch on the equipment.
Avoid High-Pressure Water and Aggressive Cleaning Methods
More cleaning force does not necessarily produce a better result. Condenser fins are thin and can bend easily. A pressure washer can damage the coil, while harsh household chemicals may harm metal surfaces or leave residue behind.
For routine homeowner maintenance, start by removing loose leaves, weeds, and debris from around the condenser. Follow the manufacturer’s directions before attempting to rinse or clean the coil itself. If rinsing is permitted, gentle water pressure is generally more appropriate than concentrated high-pressure spraying.
Do not automatically reach for household cleaners, bleach, solvents, or homemade chemical mixtures. Products that are safe for other outdoor surfaces may not be suitable for HVAC equipment.
When a coil requires chemical cleaning, use only products and procedures approved for the equipment or leave the work to a technician.
Protect the Coil Fins, Refrigerant Lines, and Internal Components
A clean AC unit still needs intact components to operate properly. Avoid leaning tools against the coil, pushing objects through the protective grille, or aggressively scrubbing the fins.
Pay particular attention to the insulated refrigerant line running between the outdoor condenser and the home. Damaged or deteriorated insulation should not simply be ignored. Likewise, oily residue around refrigerant connections, unusual hissing, or visible damage warrants professional evaluation rather than further DIY work.
Homeowners should also resist the temptation to straighten badly bent fins, dismantle the cabinet extensively, or remove components simply to reach dirt. The deeper the cleaning requires you to go into the equipment, the stronger the case for professional service.
Know Which AC Cleaning Tasks Are Safe to DIY
There is an important difference between basic upkeep and HVAC servicing. Homeowners can generally keep vegetation, leaves, grass clippings, and other obstructions away from the outdoor unit, provided the system has been safely shut down when direct contact is required.
More invasive work should be handled professionally.
Stop and call an HVAC technician if you encounter damaged electrical wiring, significant corrosion, refrigerant concerns, a fan that is not operating correctly, persistent drainage problems, or a system that continues to perform poorly after basic maintenance.
Trying to clean an AC unit should never involve troubleshooting live electrical components or repairing mechanical problems.
Safe homeowner maintenance is primarily about keeping the condenser accessible and free from external buildup, while leaving electrical, refrigerant, and complex internal work to trained professionals.
What Tools and Materials Do You Need to Clean an AC Unit?
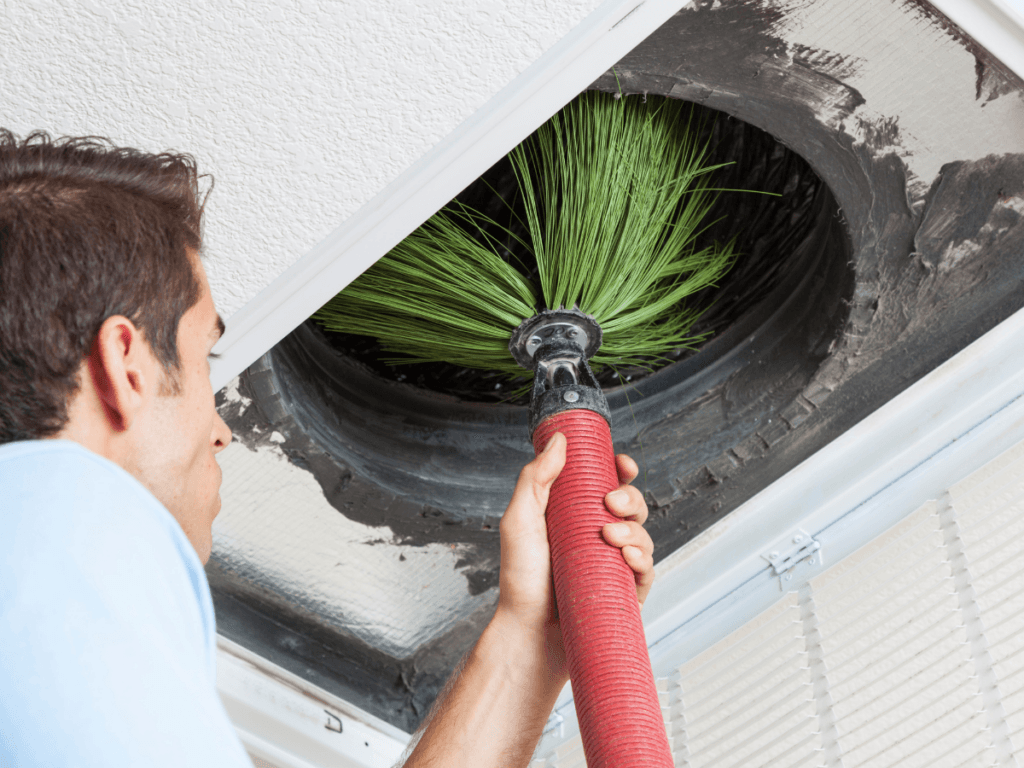
Cleaning an outdoor condenser does not require an extensive collection of tools, but choosing the right ones matters.
Condenser fins are thin and easily damaged, while electrical components must stay protected from water and cleaning products. For routine homeowner maintenance, the goal is to remove surface debris and buildup without turning a basic cleaning job into an HVAC repair.
Before gathering supplies, check the owner’s manual for your specific air conditioner. Manufacturers may provide model-specific cleaning instructions or restrictions, particularly for accessing and rinsing the condenser coil.
For basic exterior cleaning, a practical toolkit may include:
- Work gloves and safety glasses
- A soft-bristled brush
- A shop vacuum with a soft brush attachment
- A garden hose with gentle water flow
- A screwdriver or nut driver, if manufacturer instructions allow panel removal
- An HVAC coil cleaner approved for the equipment, if cleaning solution is actually needed
Avoid pressure washers, stiff wire brushes, abrasive pads, and improvised tools that can bend the fins or damage the coil.
Choosing Tools That Remove Debris Without Damaging the Condenser
Start with the least aggressive cleaning method that will get the job done.
A soft-bristled brush works well for loose dirt and debris on accessible exterior surfaces. Brush gently rather than scrubbing the fins, which can bend under relatively little pressure.
A shop vacuum with a soft attachment can be useful for collecting dry leaves, grass clippings, and other loose material around the cabinet. Avoid pushing a hard vacuum nozzle directly against the coil.
A garden hose may be appropriate for rinsing certain condenser coils when the manufacturer’s instructions permit it. Keep the water pressure gentle. A concentrated jet or pressure washer can flatten coil fins, restrict airflow, and turn routine maintenance into a repair.
You may also encounter recommendations for fin combs, which are designed to straighten bent coil fins. While these tools are readily available, they require care and are not necessary for ordinary cleaning. Extensive fin damage is better evaluated by an HVAC technician.
Do You Need Coil Cleaner to Clean an Outdoor AC Unit?
Not every dirty condenser requires a chemical cleaner. Loose dust, leaves, grass, and surface debris may be removable with gentle mechanical cleaning or rinsing, depending on the manufacturer’s recommendations.
If a cleaning product is necessary, use one specifically designed for HVAC coils and confirm that it is compatible with the coil material and your equipment. Follow the product directions carefully, including instructions for dilution, application, rinsing, and required protective equipment.
Do not assume that a household cleaner is safe simply because it removes dirt effectively elsewhere. Bleach, ammonia, strong acids or alkaline cleaners, degreasers, and other harsh products can damage metal surfaces, coatings, seals, or nearby components. Mixing cleaning chemicals can also create dangerous fumes.
“Natural” or “non-toxic” does not automatically mean equipment-safe either. Compatibility with the AC system matters more than the marketing language on the bottle.
What Not to Use on AC Condenser Coils
Some commonly suggested cleaning methods can do more harm than good. When you clean an AC unit, avoid:
- Pressure washers: Excessive force can bend delicate condenser fins.
- Wire brushes and abrasive pads: These can scratch surfaces and damage fins or protective coatings.
- Unapproved household chemicals: Products intended for kitchens, bathrooms, or outdoor surfaces may not be compatible with HVAC equipment.
- Sharp objects: Screwdrivers, knives, and similar tools should never be used to scrape debris from the coil.
- High-pressure compressed air: Improper use can bend fins or push debris farther into the coil.
The condition of the unit should determine how far DIY cleaning goes. Heavy grease, deeply embedded debris, extensive bent fins, corrosion, or buildup that remains after basic cleaning may require professional coil service.
Prepare the Work Area Before You Start Cleaning
The area surrounding the condenser matters almost as much as the cleaning tools themselves. Clear away loose leaves, weeds, grass clippings, and other debris that could restrict airflow or quickly dirty the unit again. Be careful not to damage refrigerant lines, wiring, or drainage components while working.
Keep tools organized and water away from electrical components. Power should be safely disconnected according to the manufacturer’s instructions before direct cleaning or maintenance begins.
The best toolkit is ultimately a simple one. If you need increasingly aggressive chemicals, high-pressure equipment, or extensive disassembly to clean an AC unit, the job has likely moved beyond routine homeowner maintenance and into work better handled by a qualified HVAC technician.
How to Clean an Outdoor AC Unit Step by Step
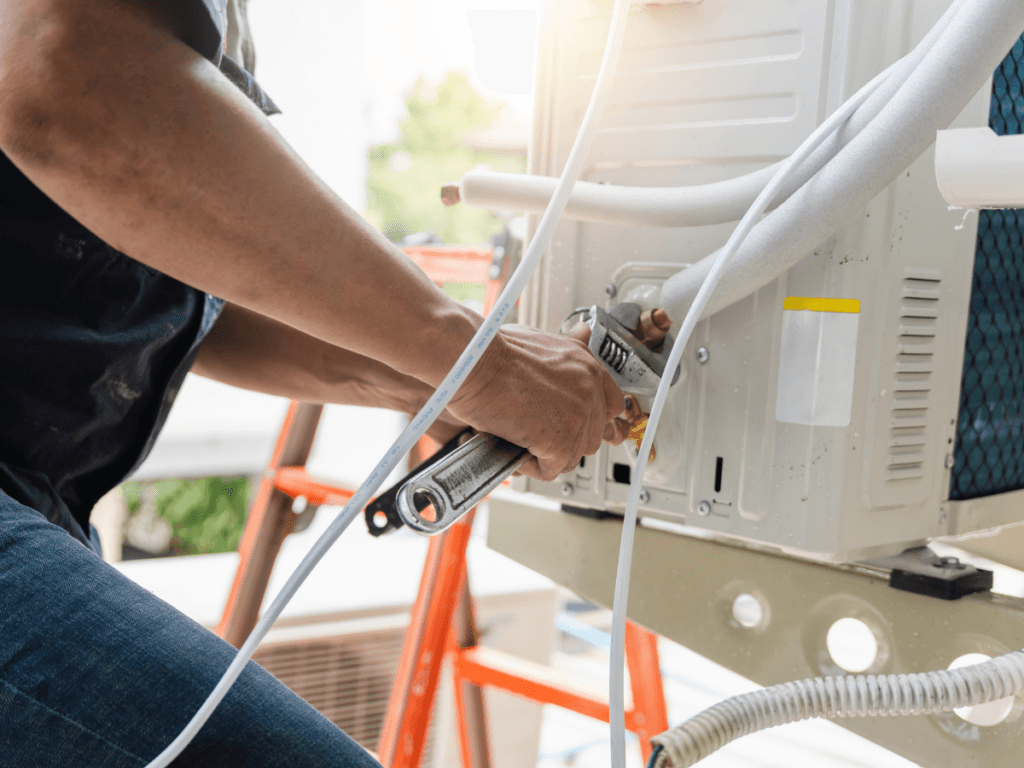
Routine cleaning can help keep an outdoor condenser free from the leaves, grass clippings, pollen, and dirt that interfere with airflow.
The process itself is fairly simple, but it is important to distinguish basic homeowner cleaning from HVAC service. Electrical components, refrigerant lines, damaged parts, and heavily soiled internal coils should be left to a qualified technician.
Before you clean an AC unit, read the manufacturer’s maintenance instructions. Condenser designs vary, and the correct way to access or rinse the coil may differ by model.
Step 1: Shut Off Power to the Air Conditioner
Start by turning the air conditioning system off and disconnecting power according to the manufacturer’s instructions. This typically involves the appropriate circuit breaker and the outdoor disconnect near the condenser.
Do not rely solely on changing the thermostat setting. The outdoor equipment contains electrical components that can remain hazardous even when the AC is not actively cooling.
Never open electrical compartments or touch capacitors, terminals, or wiring. If you notice damaged wiring, burned components, corrosion around electrical connections, or other electrical problems, stop and call an HVAC technician.
Step 2: Clear Debris From Around the Condenser
Inspect the area before touching the unit. Remove leaves, twigs, weeds, grass clippings, and other loose material from around the condenser cabinet.
Vegetation can gradually grow toward the unit and interfere with airflow, so trim nearby plants carefully while avoiding refrigerant lines and electrical connections. Keep future landscaping growth in mind rather than clearing only what is touching the cabinet today.
This is also a good time to look for obvious damage, such as deteriorated refrigerant-line insulation, extensive corrosion, or bent cabinet panels.
Step 3: Remove Loose Debris From Accessible Surfaces
Use a soft brush or a shop vacuum with a soft attachment to remove loose dirt from accessible exterior surfaces. Work gently around the coil fins because the thin metal can bend easily.
Avoid wire brushes, abrasive pads, screwdrivers, and other hard or sharp tools. Trying to scrape stubborn material away can cause more damage than the dirt itself.
If the manufacturer’s instructions allow access panels or grilles to be removed for routine maintenance, follow the specified procedure. Do not dismantle components simply to reach deeper inside the condenser.
Step 4: Inspect the Condenser Coil Before Washing
Take a closer look at the coil before introducing water. Light surface dirt may be straightforward to remove, but heavy buildup, grease, widespread fin damage, or corrosion may require professional attention.
Also check whether the coil fins are badly bent. A few minor imperfections are different from large areas of flattened fins that could restrict airflow.
This inspection prevents a common DIY mistake: assuming every dirty condenser simply needs more water or a stronger cleaning product.
Step 5: Gently Rinse the Condenser Coil
If your equipment manufacturer permits rinsing, use a garden hose with gentle water flow. Avoid a pressure washer or concentrated spray nozzle, which can bend fins and damage the coil.
Follow the manufacturer’s recommended direction of rinsing rather than automatically spraying from whichever side is easiest to reach. Keep water away from electrical compartments, wiring, the disconnect box, and other electrical components.
Allow dirt to loosen and wash away rather than trying to blast it from the surface.
Step 6: Use Coil Cleaner Only When Appropriate
A chemical cleaner is not automatically necessary every time you clean an AC unit. For light seasonal buildup, gentle debris removal and an approved rinsing method may be sufficient.
If the coil needs more extensive cleaning, choose a product specifically approved for HVAC coils and compatible with your equipment. Follow its instructions for application, dwell time, rinsing, and personal protective equipment.
Avoid bleach, ammonia, household degreasers, solvents, and homemade chemical mixtures. Even products marketed as natural or biodegradable should not be used unless they are appropriate for the equipment.
Step 7: Reassemble and Inspect the Area
If you removed any manufacturer-approved access panels or grilles, reinstall them correctly before restoring power. Check that no tools, brushes, loose debris, or cleaning materials have been left inside or around the unit.
Give wet surfaces sufficient time to drain as directed by the equipment manufacturer. Make sure the surrounding area is clear and that nothing is obstructing the condenser.
Step 8: Restore Power and Check Normal Operation
Restore power using the reverse of the approved shutdown procedure, then return the thermostat to its normal setting. Observe the system rather than immediately walking away.
Listen for unusual noises and confirm that the outdoor unit appears to start and operate normally. Cleaning should not be treated as a repair. If the AC still cools poorly, repeatedly shuts down, makes unusual noises, or shows signs of mechanical or electrical trouble, schedule professional service.
A clean AC unit can support proper airflow and heat transfer, but maintenance works best when it stays within safe DIY limits. Basic debris removal and manufacturer-approved cleaning are reasonable homeowner tasks.
Electrical work, refrigerant problems, internal repairs, and extensive coil servicing belong with a trained HVAC professional.
When to Call a Professional Instead of Cleaning Your AC Yourself

There is a useful line between routine AC maintenance and HVAC service. Homeowners can often remove leaves and surface debris, keep vegetation away from the outdoor condenser, and perform manufacturer-approved basic cleaning.
Once the job involves electrical components, refrigerant, internal mechanical parts, significant coil buildup, or diagnosing poor performance, professional service is the safer choice.
Signs Your AC Needs More Than Routine Cleaning
If you’re trying to clean an AC unit because it is no longer cooling properly, look for symptoms that suggest something else is wrong. Cleaning may improve airflow when dirt or debris is the issue, but it cannot correct every performance problem.
- Weak or warm airflow: Poor cooling can have many causes, including airflow restrictions, refrigerant issues, electrical faults, or problems with system components. If basic maintenance does not improve performance, the system needs diagnosis rather than more aggressive cleaning.
- Unusual noises: Grinding, buzzing, rattling, screeching, or other new sounds can indicate loose, worn, or malfunctioning components. Do not remove panels and continue troubleshooting around moving or electrical parts.
- Repeated cycling: An air conditioner that starts and stops unusually often may have an underlying operating problem. Cleaning the outdoor cabinet will not necessarily resolve the cause.
- Ice on the system: Ice on refrigerant lines or other parts of the AC system is a reason to stop and investigate the underlying problem. Continuing to operate or repeatedly clean the equipment without addressing the cause can leave the actual fault unresolved.
- Electrical warning signs: Burned smells, damaged wiring, tripped breakers, scorched components, or unusual electrical noises should always be treated seriously. Turn the system off and contact a qualified HVAC professional.
- Oily residue or suspected refrigerant leaks: Refrigerant work is not a DIY maintenance task. If you notice signs that could indicate a leak, professional diagnosis is appropriate.
When Dirty Condenser Coils Require Professional Cleaning
Not every dirty condenser can be restored with a garden hose and soft brush. Over time, contaminants can become embedded deeper in the coil, particularly when dirt mixes with pollen, grass clippings, cottonwood, grease, or other material.
A technician may be better equipped to handle:
- Heavy buildup that remains after gentle surface cleaning
- Dirt trapped deep within the condenser coil
- Extensive bent or damaged fins
- Corrosion or physical coil damage
- Equipment that requires substantial disassembly for proper access
- Buildup that requires specialized coil-cleaning products or procedures
Trying to compensate with stronger chemicals or higher water pressure can damage the equipment. If ordinary homeowner methods are not enough to clean an AC unit effectively, that is generally a sign to stop rather than become more aggressive.
Cleaning vs. AC Repair: Know the Difference
One of the easiest mistakes to make is assuming poor cooling means the condenser is dirty. A clogged outdoor coil can interfere with heat transfer, but similar symptoms can appear when other parts of the system are not functioning correctly.
Consider what happens after routine maintenance. If debris has been removed, airflow around the condenser is unobstructed, the air filter is in acceptable condition, and the system still struggles to maintain the desired temperature, further cleaning may not solve the problem.
A technician can evaluate the system as a whole rather than focusing only on visible dirt. That may include checking electrical components, refrigerant performance, airflow, temperature differences, drainage, motors, controls, and other operating conditions as appropriate.
Professional AC Cleaning Can Also Include Preventive Maintenance
Professional service is not only for systems that have already failed. An HVAC maintenance visit can identify developing problems that would not be obvious during exterior cleaning.
The technician can inspect areas homeowners should not access, assess the condition of the condenser and indoor equipment, and determine whether cleaning is actually necessary. This distinction matters because automatically applying chemicals or deeply cleaning coils at every opportunity is not always required.
For homeowners, the most practical approach is to treat DIY cleaning as basic upkeep rather than a substitute for HVAC maintenance. Keep the condenser free of obvious debris, follow the manufacturer’s cleaning instructions, and monitor how the system operates afterward.
When the problem involves more than dirt, professional diagnosis is more useful than repeatedly trying to achieve a cleaner AC unit.
Conclusion
Keeping your AC unit clean is a simple but important part of maintaining strong airflow, efficient cooling, and reliable performance throughout the warmer months.
Regular filter changes, clean coils, clear vents, and debris-free outdoor equipment can help your system work more efficiently while reducing unnecessary strain on its components.
When deeper cleaning or maintenance is needed, professional HVAC service can help identify potential problems before they lead to costly repairs or unexpected breakdowns.
For dependable AC maintenance and cooling services, choose Ace Tech Heating & Cooling. If you’re ready to keep your air conditioner clean, efficient, and performing at its best, call (404) 369-9100 to speak with the team at Ace Tech Heating & Cooling or fill out the site form to get your free quote today.